DIY At-Home Gel Polish Manicure Tutorial
Some people enjoy going to the nail salon and getting Shellac on their nails. This salon polish promises to stay on up to 14 days with no chipping or cracking.…

Some people enjoy going to the nail salon and getting Shellac on their nails. This salon polish promises to stay on up to 14 days with no chipping or cracking. That’s all fine and dandy but what if, like mine, your nails grow so fast that the polish looks bad after just one week – so not worth $35 each time. Now, many companies are offering DIY at-home gel polish kits at various price points.
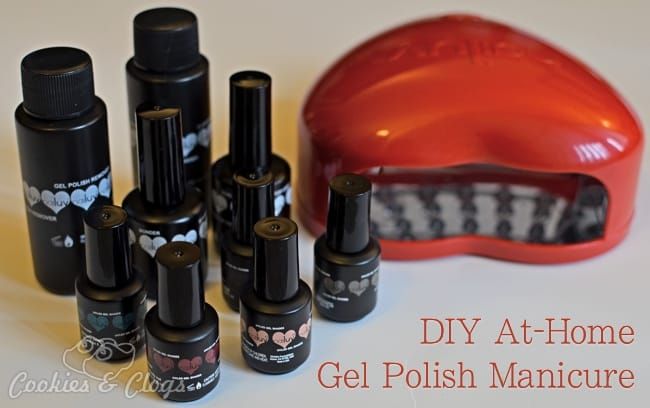
At-Home Gel Polish Supplies
Individual pieces of these kits can mostly be interchanged. The basic items needed are:
- LED lamp (not UV, cheaper but takes longer and is bad for your skin)
- Bonder
- Base Coat
- Top Coat (sometimes the base and top coat are combined)
- Gel Polish (normal polish will NOT work the same)
To begin, you will have to push back your cuticles and lightly file off the shiny surface of each nail. Next, use a lint-free pad to clean the oil off your fingers. The ‘cleaner’ solution in most kits are basically made of rubbing alcohol so I’ve found it easiest to just use alcohol swabs, like the ones for first-aid kits.
Applying At-Home Gel Polish
- Apply bonder. Let air dry (only takes a few seconds).
- Apply base coat. Make sure to ‘seal’ the polish by applying it along the tip edge as well. Cure under LED lamp for 30-45 seconds.
- Apply gel color. Again, seal the polish on the edge. Cure under LED lamp for 45-60 seconds.
- Apply second coat of gel color. Cure under LED lamp for 45-60 seconds. An additional coat can be added to reach desired opacity.
- Apply top coat and seal edge. Cure under LED lamp for 30-45 seconds.
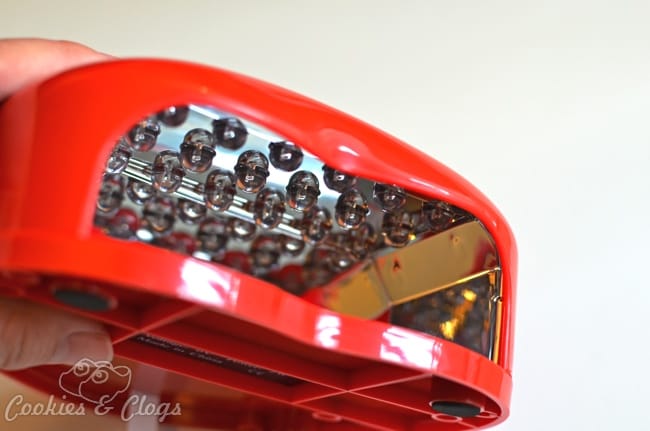
Curing your nails just means letting it sit under the LED light. Polish dries within seconds. If the lamp has a small opening, you can do your fingers first and thumbs later. Not all LED lamps are created equal as some have timers, some are portable, and some are large enough to fit your whole hand at one time or even your foot.
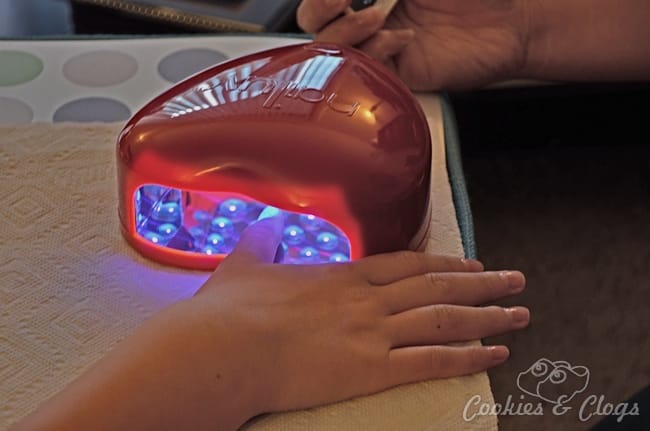
To remove the polish, you’re supposed to soak a cotton ball in the special remover liquid (basically acetone) and secure it to your nail with aluminum foil. Wait about 15 minutes for it to get soft for easy removal. This is better for your nails but tedious. Instead, I end up peeling all the polish off and letting my nails recover for a week in between applications. It’s kind of fun and somehow therapeutically calming.
Nailuv Kit – Price VS Quality
I bought a kit by NaiLuv because it was only $30 at Costco. The lamp has no timer, the colors included were kind of ugly, and the polish tends to shrink when curing. If I wanted a better set-up, it’d cost me at least double so, for now, this is good enough. I just use my mobile phone as a timer and picked up some better gel polish colors from another brand (they were on sale and I had a coupon). It is small so I need to do my thumbs separately. But, the polish cures so much faster than regular polish that the whole process takes less time overall.
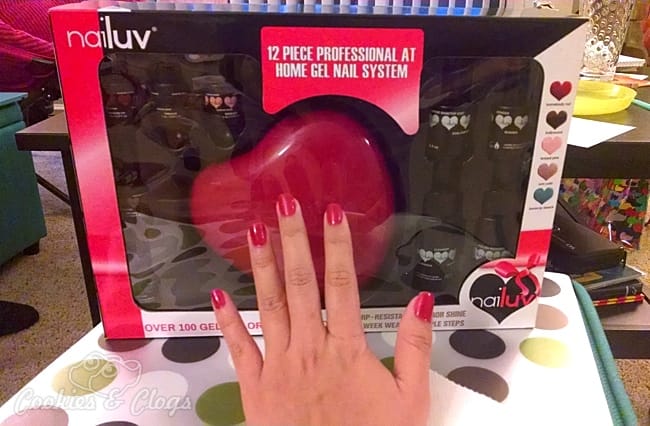
The polish definitely lasts longer. Sometimes, regular polish would chip on the first day. With the gel polish, I can wash dishes, scrub counters, etc. and they’ll stay in perfect, shiny condition until I’m ready to take it off (about 10 days). It even stays looking nice on my daughter…until she peels it off.