Disney’s Frozen Movie Inspired Nail Art Design: 6-Step Tutorial #DisneyFrozenEvent
Frozen Inspired Nail Art Design During the red carpet press event for Frozen, I decided to do a bit of Frozen-inspired nail art design. This ombre / gradient effect is…

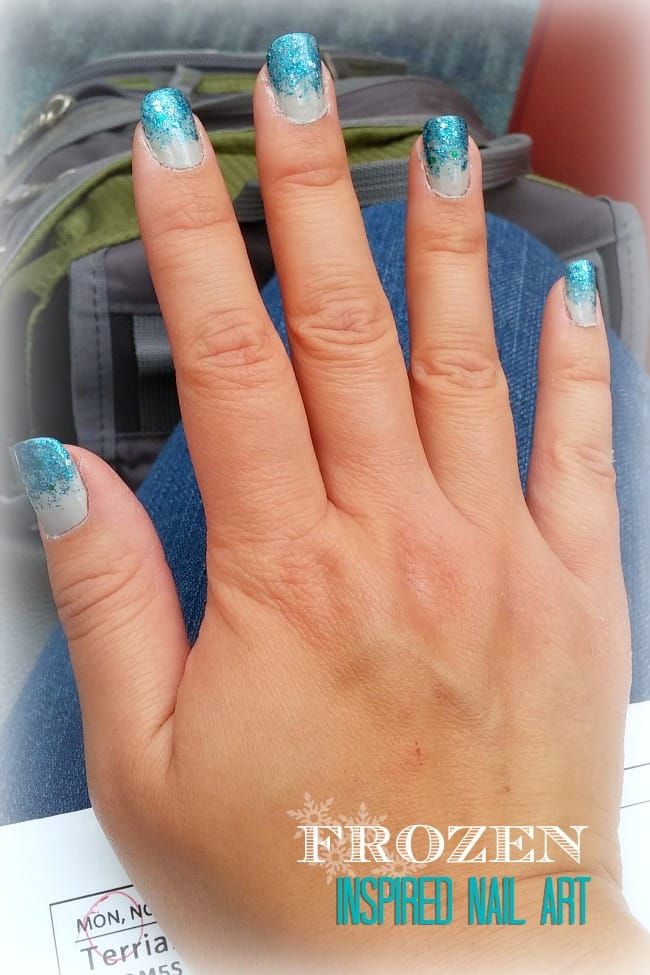
Frozen Inspired Nail Art Design
During the red carpet press event for Frozen, I decided to do a bit of Frozen-inspired nail art design. This ombre / gradient effect is super easy but will get a lot of compliments. The key here is layering and glitter polish with bigger chunks.
- Apply base coat. Let dry.
- Apply one coat of white or light gray polish. Let dry.
- Apply bluish glitter polish along tip and lightly blend downwards, a little more than half-way down the nail. Do not cover whole nail. Let dry.
- Repeat step 3 but only blend the first quarter or so of your nail this time. Let dry.
- If needed, repeat again but only slightly blend the coat. There should be an almost opaque finish at the very tip. Let dry.
- Apply top coat.
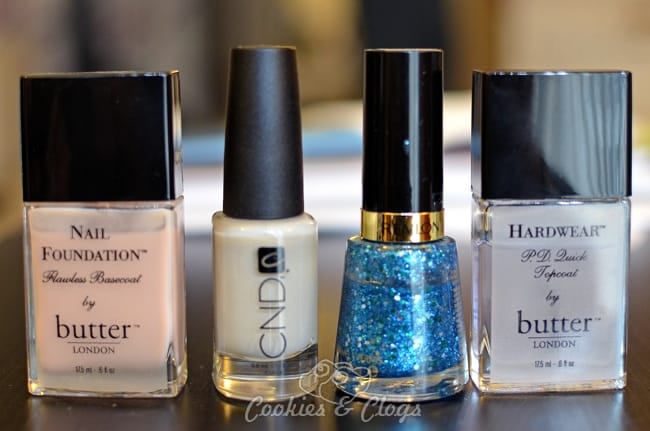
The ombre / gradient effect is not new but, if you are using traditional polish, the method used is a little different. Tutorials for those can be found all over the web 🙂 Here are the polishes I used: